Online Since 2001
 Online Chat
 Order Before 1pm, DPD Next Day Delivery
Online Since 2001
Online Chat
Order Before 1pm, DPD Next Day Delivery
Order Before 1pm, DPD Next Day Delivery
Online Since 2001
Online Chat
Order Before 1pm, DPD Next Day Delivery

On the Slopes is based on the 5 main factors, you must make sure you read these before heading out.
At the starting point of the tour, the transmitting and receiving function on all Avalanche Transceivers should be checked
Group Leader Check
Group Check
Before Every Tour
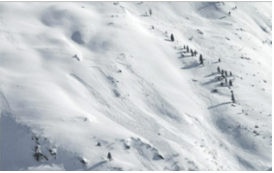
Heading all visible alarm signs is vital on every tour. Heavy precipitation, especially rain, and rapid increases in temperature or wind can lead to an increase in the risk of avalanche.
6 Additional Alarm Signs :
 |
 |
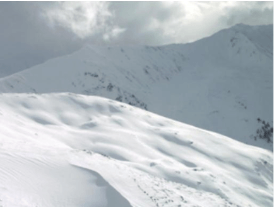 |
| 1. Cornices are a sign of high winds. Dangerous snowdrifts accumulate on the lee side. | 2. Snow Banners are signs of high wind activity and snow drifting on the lee side. | 3. Drifting Snow If the snow-drifting is caused by the wind, this can often be recognised by wind tracks on the snow surface (e.g. zastrugi, dunes or wind scoops). Drifting snow is one of the main causes of slab avalanches. |
|
|
|
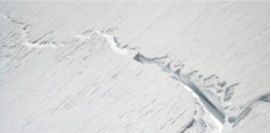 |
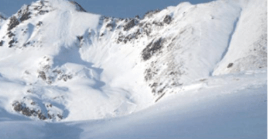
| 4. Recent Avalanches Indication of an unfavourable and unstable snowpack. The surrounding terrain with a similar slope aspect and height should be avoided here | 5. Naturally Triggered Avalanches usually occur when there is a high avalanche risk. Especially when the weather warms up in the daytime in spring, they serve as an indicator of danger. | 6. Cracks in the snowpack indicate that it is ready to break. They are often accompanied by whumping or settling noises. |
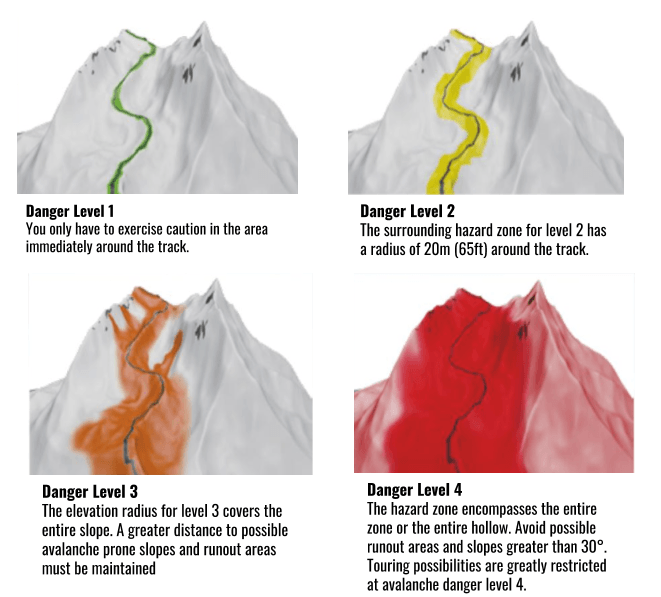
Understanding avalanche danger levels and Hazard Zones. The relevant evaluation radius increases significantly with increasing avalanche danger level.
Please Note
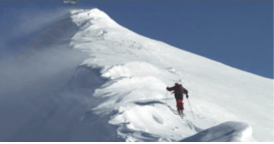
Falls and jumps impact the snow cover with 6-7 times body weight and should be avoided particularly in ridge areas and steep sections!
Please click the image tabs below to find out more about our Snowsafe Avalanche Safety Centre
 |
 |
 |
 |